A smooth, lasting finish on wall paneling takes about two days, thirty dollars in materials, and one stage almost everyone rushes: the deglossing.
Skip it, and the paint peels in sheets six months later, which I learned in a rental basement after saving fifteen minutes I then spent stripping the whole wall.
The condition that changes everything is the paneling type itself. Real wood soaks up twice the primer you estimated; laminate lets regular primer slide right off unless you start with a bonding formula like Insl-X Stix.
TSP at half a cup per gallon of warm water is what actually dissolves the grease that a damp cloth only pushes around, and that residue left sitting will interfere with primer adhesion in ways that show up months after you thought the job was done.
1. Prepare the Area
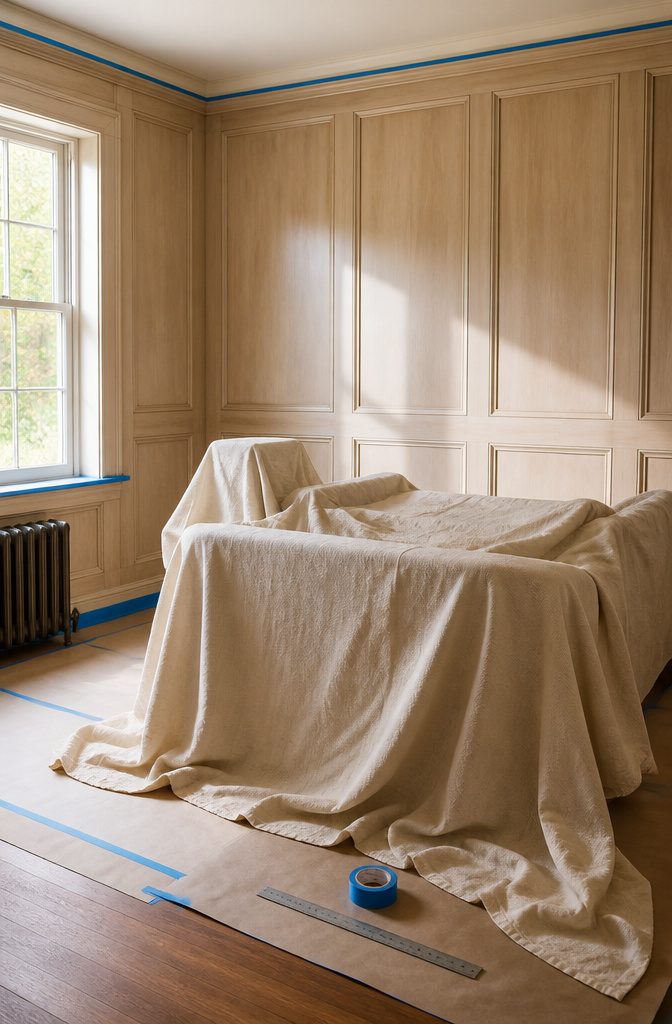
Move everything you can out of the room. What stays gets pushed to the center and draped, because paint finds the one corner of a sheet that slipped.
A drop cloth costs less than half a security deposit, and the cheap ones still beat newspaper that shifts under your shoe at the wrong moment.
I learned that the second time I painted a rental, not the first. Tape over outlets and any trim you are not touching; the five minutes now saves an hour of careful edging later.
Plastic sheeting works for furniture, but a cloth drop on the floor stays where you put it and does not turn into a slip hazard the second overspray lands.

🏠DETAILS: Size 15.8 X78.8 Inch , total 8.65 sq.ft(40cmX2m),Wide of wood slat: 1.42 inch. Self adhesive (no extra glue needed). Made of durable pvc vinyl, faux beadboard wallpaper Peel and stick, Waterproof, Removable.

🏠DETAILS: Size 15.8 X78.8 Inch , total 8.65 sq.ft(40cmX2m), Self adhesive (no extra glue needed). Made of durable vinyl, oak slats wood panel wallpaper peel and stick, waterproof, oil-proof. Fully removable.

S: Better paint adhesion, better look, better coverage and better finish
2. Clean the Surface
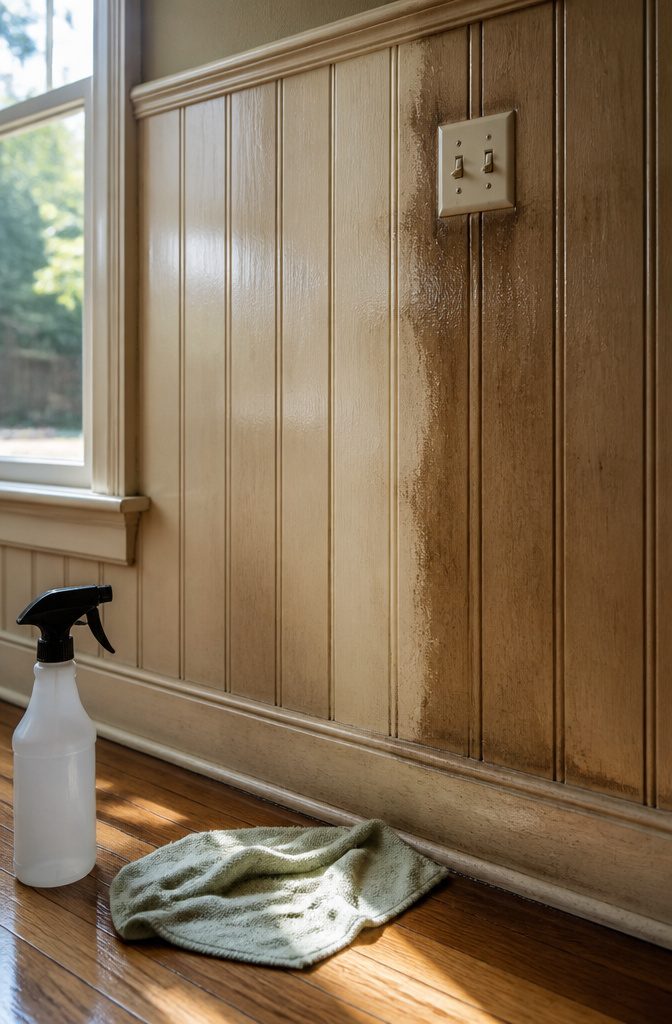
A damp cloth alone only pushes surface dust around.
Grease from years of hands near light switches and along chair rails needs something stronger, and TSP mixed about half a cup to a gallon of warm water is what actually dissolves it.
The stuff smells odd and gloves are non-negotiable unless you want desiccated hands, but it cuts through the buildup that soap leaves behind.
Work top to bottom, not bottom to top.
Dirty water runs downward, and cleaning the lower boards first means doing them twice. Rinse with clean water afterward; any TSP residue left sitting will interfere with primer adhesion.
Let the paneling dry completely before moving on. I clean in the evening and pick up the next morning, because priming over damp wood is asking for trouble that shows up months later.

This product adds a great value A phosphate-free concentrated cleaner-one gallon of liquid TSP will make up to 16 gallons of cleaning solution (cleans approximately A heavy...
3. Fill Holes and Cracks
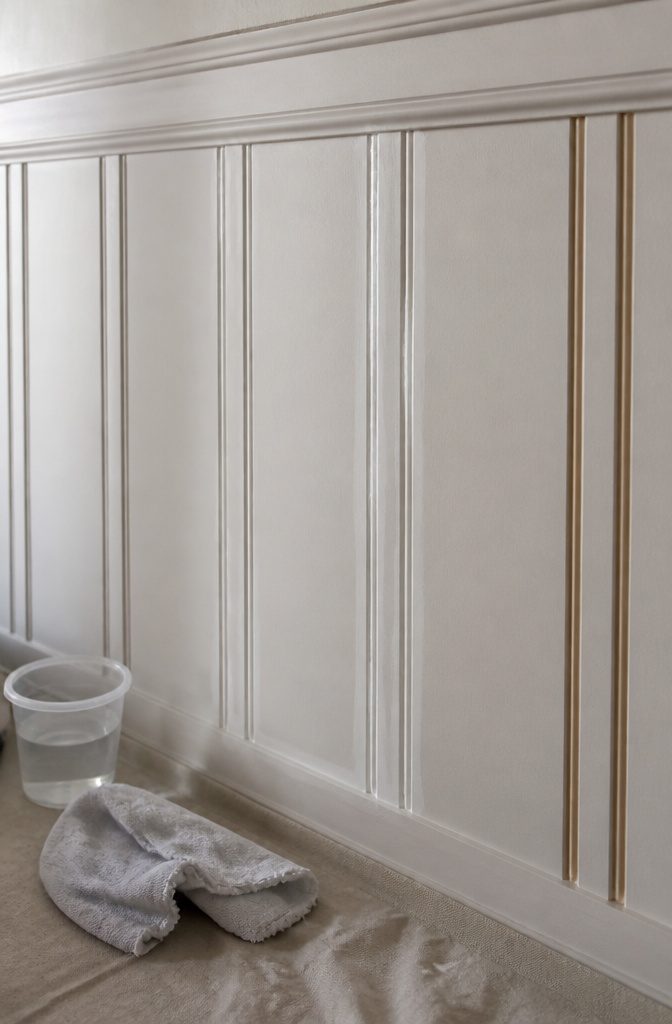
Spackle covers holes and cracks in the paneling itself, but the gaps between panels need caulk instead.
I learned that distinction the hard way in a bathroom project, where spackle in every seam looked fine at first. The problem is that spackle dries rigid, and panels expand and contract with humidity.
After a few months, every seam I had filled had cracked open again. Caulk flexes with that movement, so it stays intact where spackle fails.
A wet finger works better than a putty knife for pressing spackle into nail holes on grooved paneling. The knife scrapes away the wood grain around the hole, and that texture difference shows through paint as a lighter spot.
For caulk, run a thin bead where paneling meets trim, ceiling, or baseboards, then smooth it with a wet finger. A cup of water and a rag beside you is all the setup you need.
Let spackle or caulk dry a full 24 hours before painting.
Skip that wait and the finish looks like you painted over something still crumbling underneath. The gaps that seem invisible now will stand out sharply once color is on the wall.

Transform dated countertops: Stone Coat Countertops Bonding Primer & Sealer creates a durable bond on slick surfaces like laminate, tile, granite, quartz, solid surface, and cultured marble, ensuring a strong foundation for epoxy applications.

Easy to Use: Even for beginners, this primer is easy to use! Just brush it on and let it dry.

Exterior/interior use, great for galvanized steel, wrought iron, railings, furniture, laminate, PVC, porcelain, masonry, glazed brick and more
4. Sand the Paneling
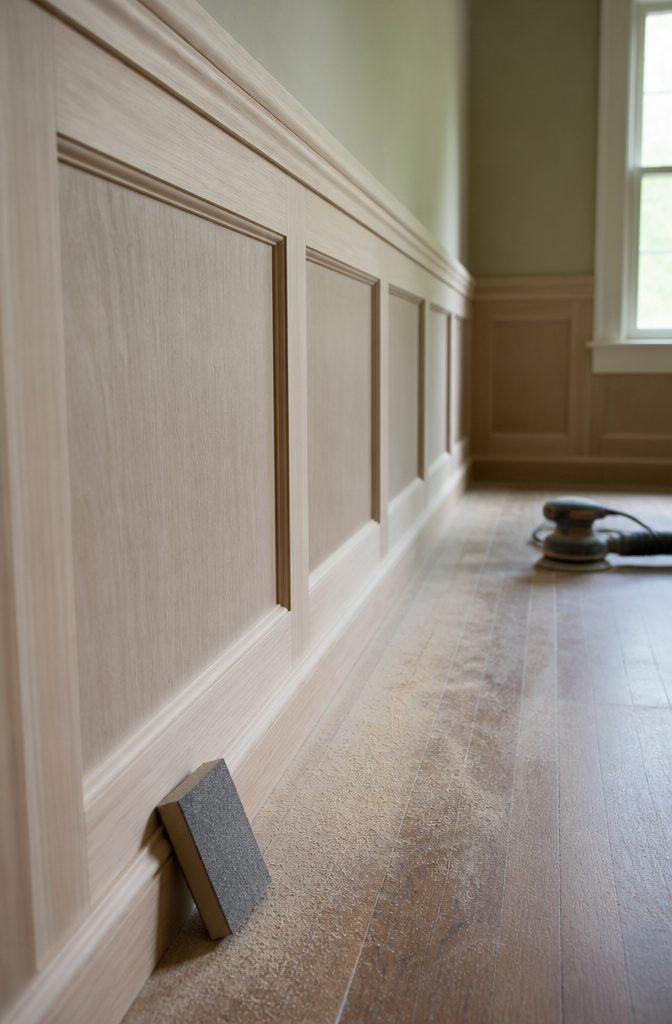
A 220-grit sanding sponge works best for the light scuffing this job actually needs.
You are not removing the finish, only deglossing it so the primer can grip. Real wood paneling tolerates more pressure, but veneer is thin and unforgiving.
Sand through it near an edge or corner and you will be filling particle board with wood putty, then hoping the repair blends. Sanding with the grain takes longer but leaves a surface that looks right even under paint.
Wear a respirator and eye protection, especially if the paneling predates 1978 and might carry lead paint.
Work with 150-grit paper only on stubborn spots; otherwise stay closer to 220 to keep from cutting too deep. An orbital sander saves time on large walls, though a sponge gives better control around grooves and trim.
Once the sheen is dulled to an even matte, wipe everything down with a tack cloth or barely damp rag. Dust left behind becomes bumps in your primer, and those bumps telegraph through every coat that follows.

✅ One pre-filled precision applicator is included for a single touch-up, repair, or small sealing job without reloading or cleanup.

✅ One pre-filled precision applicator is included for a single touch-up, repair, or small sealing job without reloading or cleanup.
5. Apply Primer
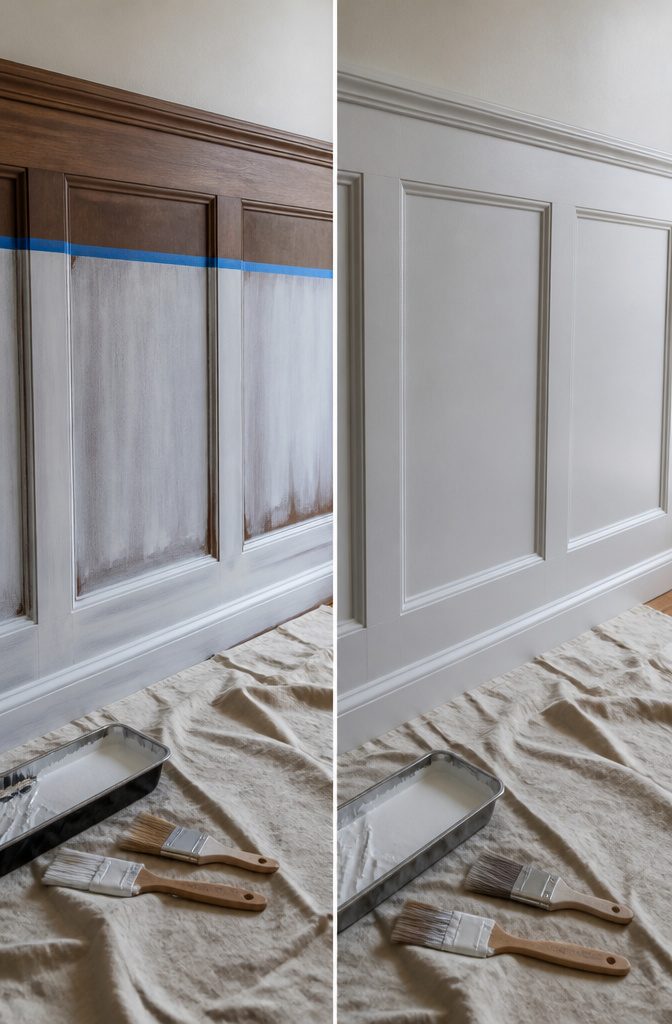
Dark paneling fights back if you give it half a chance. The tannins in the wood will push straight through standard primer and leave you with yellow-brown spots that only show up after the topcoat is dry.
Two coats of stain-blocking primer are non-negotiable on anything darker than a medium oak. I use Kilz Restoration for this, and the first coat will almost always show some bleed-through.
That is normal. The second coat is what seals it.
For laminate or any paneling with a factory gloss, regular primer is a waste of time and money. The paint will peel in sheets on the second coat, and you will be stripping back to start over.
Insl-X Stix is formulated for exactly this problem: it bonds to slick surfaces without sanding first. The Home Depot and most paint counters stock it, or something comparable in the bonding primer category.
Work a brush deep into every groove before you touch a roller.
The half-inch nap can handle the flat sections, but it will not push primer into the crevice where the boards meet. Those spots get rolled over, not filled, and they will telegraph through every layer that follows.
Oil-based primer needs almost overnight to cure; latex stain-blockers move faster, but still need to be fully dry before the second coat or the topcoat.

HEAVY-DUTY MULTI-PURPOSE CLEANER - Our powdered trisodium phosphate cleaner is a non-sudsing compound that excels in heavy-duty cleaning. Expertly crafted to conquer the toughest jobs, removing stubborn grease, smoke, soot, and chalked paint from almost any type of walls & floors

SCRUB FREE FORMULA: lifts scuffs and stains without damaging finishes or leaving a residue

Powerful Degreaser for Walls & Floors: Breaks down grease, dirt, and stains on walls, tiles, and concrete surfaces. Ideal for deep-cleaning kitchens, garages, and basements, leaving surfaces fresh and prepped for refinishing or painting.
6. Paint the Paneling
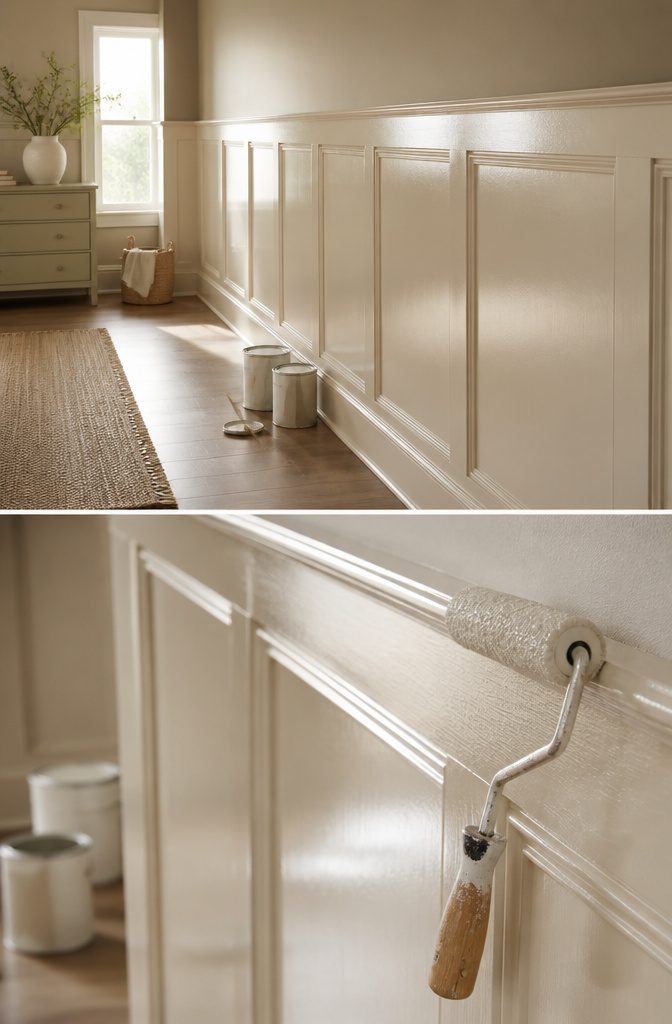
Two coats of quality interior paint, latex or oil-based, are what separate a finished job from a patch job.
The first coat goes on the same way the primer did: brush the grooves first, then roll the flat panels with long, even strokes.
Wait 3-4 hours between coats; latex dries fast enough that you can get both done in a day, but rolling over tacky paint will leave lap marks you cannot roll out later.
I lean toward eggshell or satin for paneling. Semi-gloss holds up better in a hallway kids touch every day, yet it also catches light across every remaining imperfection.
Sherwin Williams Promar 700 in Alabaster white covered beautifully on a high-traffic job I read about, and Benjamin Moore lines hold up similarly well.
One coat will look adequate in the can’s wet sheen; the second coat gives the depth and durability that actually lasts. Skip it, and the first scuff or cleaning reveals why you hurried.
What You Need
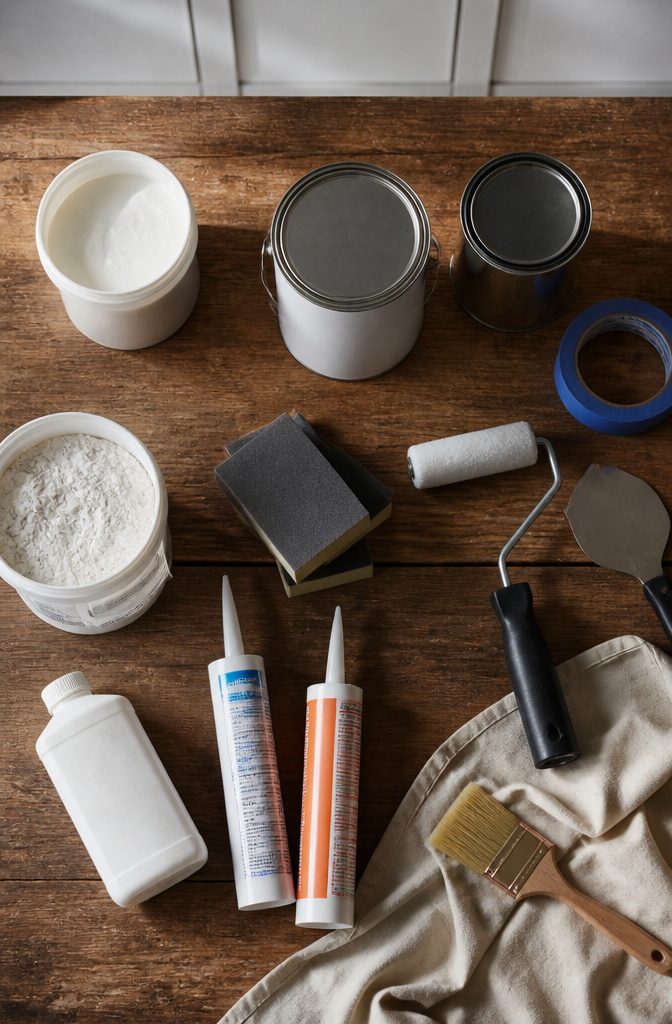
I keep a specific kit now for paneling projects because I got tired of running back to the store mid-job.
- TSP or heavy-duty degreaser for the sticky buildup regular soap won’t touch. Kitchen paneling especially needs this before anything else goes on.
- Spackle or joint compound for filling grooves or nail holes. Most renters already have a half-hardened tub from the last wall project.
- Paintable caulk such as DAP Alex Plus. It seals the seams between sheets so the finish doesn’t telegraph every line underneath.
- 150–220 grit sandpaper or sanding sponges. The sponges conform to the grooves better than paper on a block, and the same pack works for furniture later.
- Stain-blocking primer. This is non-negotiable on dark wood; Kilz Restoration or an oil-based primer stops the yellow-brown bleed that ruins light paint in a week. For glossy laminate, Insl-X Stix bonds where standard primers skate off.
- Quality interior paint, latex after an oil primer has fully dried. The can says what to wait; believe it.
- 2-inch angled brush and a half-inch nap roller. The brush works primer and paint into the grooves; the roller covers the flats. Thinner naps skip the grooves entirely.
Types of Paneling and What Changes
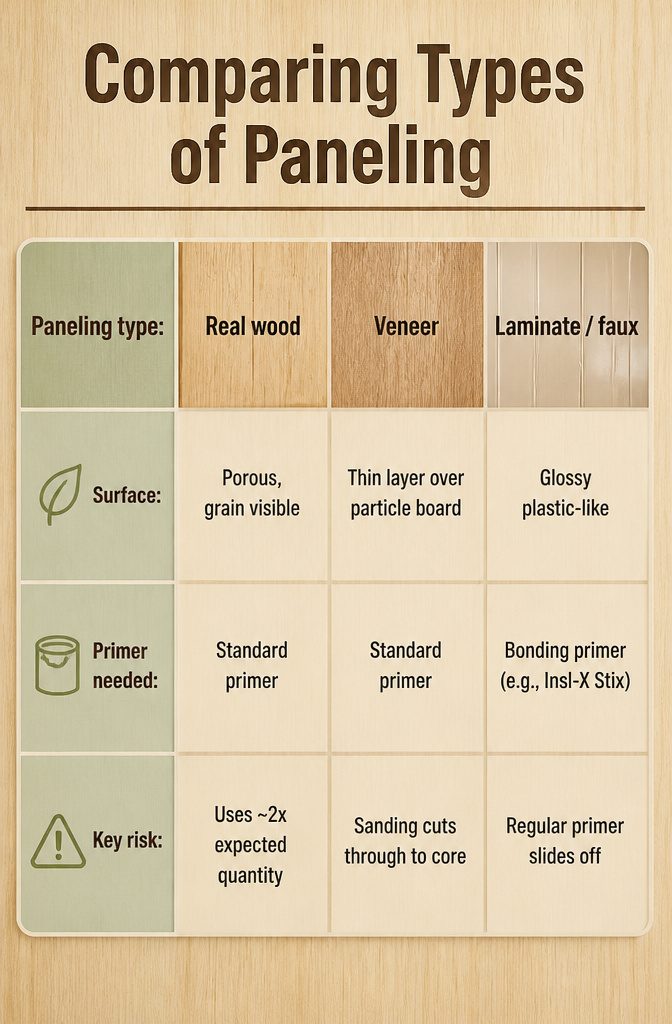
Most renters cannot tell what kind of paneling they have until they start working with it.
Real wood drinks primer unevenly and can swallow almost twice what you estimated. Veneer carries a thin wood layer over particle board, and sand too hard and you cut straight through to the brown core underneath.
Laminate’s glossy plastic finish lets regular primer slide right off, so bonding primers like Insl-X Stix are the only thing that stick.
If you skip the prep, even the most expensive paint will look terrible or peel off.
That means the paneling type decides your primer before the color ever does.
| Paneling type | Surface | Primer needed | Key risk |
|---|---|---|---|
| Real wood | Porous, grain visible | Standard primer | Uses ~2x expected quantity |
| Veneer | Thin layer over particle board | Standard primer | Sanding cuts through to core |
| Laminate / faux | Glossy plastic-like | Bonding primer (e.g., Insl-X Stix) | Regular primer slides off |
If you are not sure which you face, test a hidden corner with a quarter cup of primer. The way it sits or soaks tells you everything the surface will not.

Easy to Use: Even for beginners, this primer is easy to use! Just brush it on and let it dry.
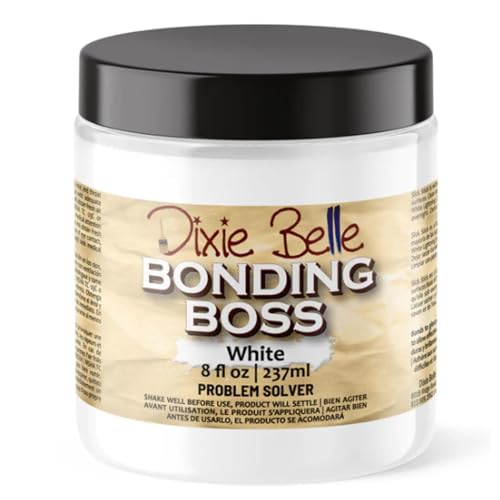
PROBLEM SOLVING PRIMER – Bonding BOSS is a water-based paint primer that blocks odors, stains, and stops bleed through. Bonding BOSS is a problem solver product and not needed for every project. In two coats, Bonding BOSS tackles tough set-in stains including permanent marker, water stains, and much more. Bonding BOSS even masks smoke odors and nicotine smells and helps slippery surfaces to have something for the paint to adhere to.

Specially formulated plastic primer sprays on fast and easy, providing a tight bond for superior paint adhesion and durability.
Why Preparation Matters
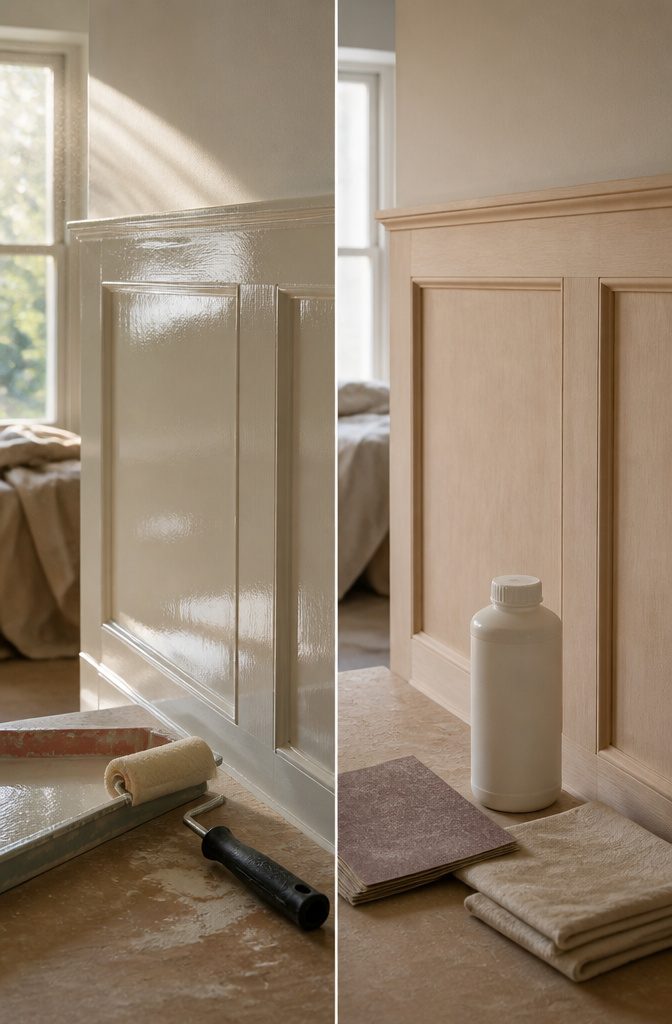
Glossy paneling has a factory finish that paint simply cannot grip.
That "shiny finish" must be sanded off so the new coat can properly stick to the surface. Skip this, and the paint sits on top like wet paper, waiting to peel.
I learned the mechanism the hard way on a rental basement years ago. The grooves and veneer looked clean enough, so I rushed to primer.
Six months later, hairline cracks formed at every seam, then sheets of latex lifted in the humidity. The 15 minutes I thought I saved cost a full redo.
Light sanding with 150-grit paper scores that gloss just enough for mechanical adhesion. The dust you wipe away afterward is the old barrier, gone.
Chemical bonding primers like Kilz Adhesion or Insl-X Stix exist for when sanding is truly impossible, but even a quick scuff with 220-grit improves their performance. Primer compensates, it does not replace, the prep.
Products That Work
Kilz Restoration is the primer I grab first when paneling has seen water damage, smoke, or years of kitchen grease.
It blocks stains that would otherwise bleed straight through fresh paint, and it sticks to both wood and laminate without fuss. For anything with a slick plastic or melamine face, Insl-X Stix is the bonding primer that actually grips.
Regular primer on laminate will fail; I learned that the hard way on a basement job years back, watching the second coat peel in sheets and having to strip everything down to start over.
Real wood paneling drinks up primer at different rates depending on the grain, which leaves the first coat blotchy and uneven.
Two coats of stain-blocking primer fixes this, and oil-based formulas penetrate best. Sherwin Williams oil-based primer and Benjamin Moore Fresh Start oil primer both seal properly without the soaking problem.
Hardwood paneling can take more aggressive sanding than veneer if you need to scuff for adhesion, since you will not sand through a facing layer that is not there.
For the finish coat, Benjamin Moore Regal Select has held up perfectly in my experience, even with kids battering a basement rec room.
Sherwin Williams lines are solid too, though I have not used them as often in this specific application.
The one I regret buying was a cheap all-purpose primer I reached for on that laminate job before I knew better; it cost me a full day of stripping and re-priming, which is never worth the five dollars saved at checkout.
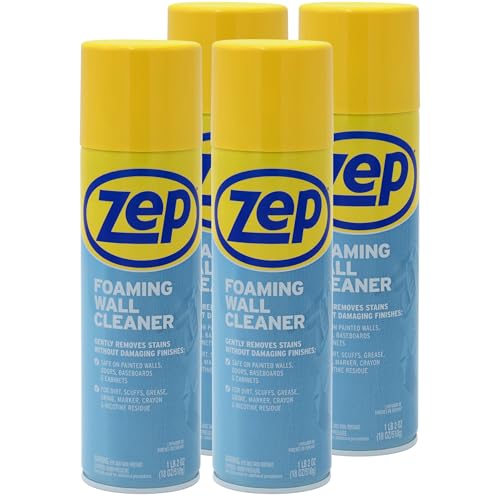
Lifts Scuffs & Stains: Scrub-free foaming formula removes scuffs and stains without damaging painted surfaces or finished walls.

The information below is per-pack only

Wall Surface Cleaner: Ready your walls and ceilings for painting by eliminating stubborn grease and dirt!
Frequently Asked Questions
Can you paint paneling without sanding?
Yes, but only if you use a bonding primer like Insl-X Stix. A light scuff with 220-grit still improves adhesion, and skipping any prep on glossy paneling risks peeling later.
How to paint wood paneling with grooves without sanding?
Clean it with TSP, then apply a stain-blocking bonding primer with a brush worked deep into the grooves first. The bonding primer adheres chemically to compensate for not sanding.
Is painting over paneling a good idea?
Yes, it is faster and cheaper than removing paneling and installing drywall. The exception is paneling that is water-damaged, severely warped, or has mold behind it.
Can you paint paneling in a bathroom?
You can, but use moisture-resistant paint and keep the room ventilated. Apply stain-blocking primer first, then a moisture-resistant topcoat to handle constant humidity.
What kind of paint do you use on paneling?
Two coats of quality interior paint, latex or oil-based, in eggshell or satin sheen. Semi-gloss holds up better in high-traffic areas but catches light across every imperfection.
Can I just paint paneling?
Not without preparation first. Glossy paneling has a factory finish that paint cannot grip, so you must clean, sand lightly, and prime before the topcoat or the paint will peel.
What happens if you don’t sand paneling before painting?
The paint sits on top like wet paper and will eventually peel. The factory gloss prevents mechanical adhesion, and even bonding primers perform better with at least a quick scuff.
Do you have to prime paneling before you paint it?
Yes.
Dark paneling needs two coats of stain-blocking primer to stop yellow-brown bleed-through. Laminate or glossy paneling needs a bonding primer like Insl-X Stix or regular primer will slide off and fail.